

How to create your team in Smallppt?
Updated over 2 months ago
How to create your team in Smallppt?
Smallppt provides three ways to enter the team creation process, all of which will ultimately guide you to select the appropriate team package and complete the creation of the team workspace.
Method 1: Directly purchase the team package from the price page
1. Browse Plans: Visit Smallppt's Pricing Page to view and select a plan that suits your team.
2. Confirm Selection: Based on the number of team members and the payment cycle (monthly/annual), select the package plan that best meets your needs.
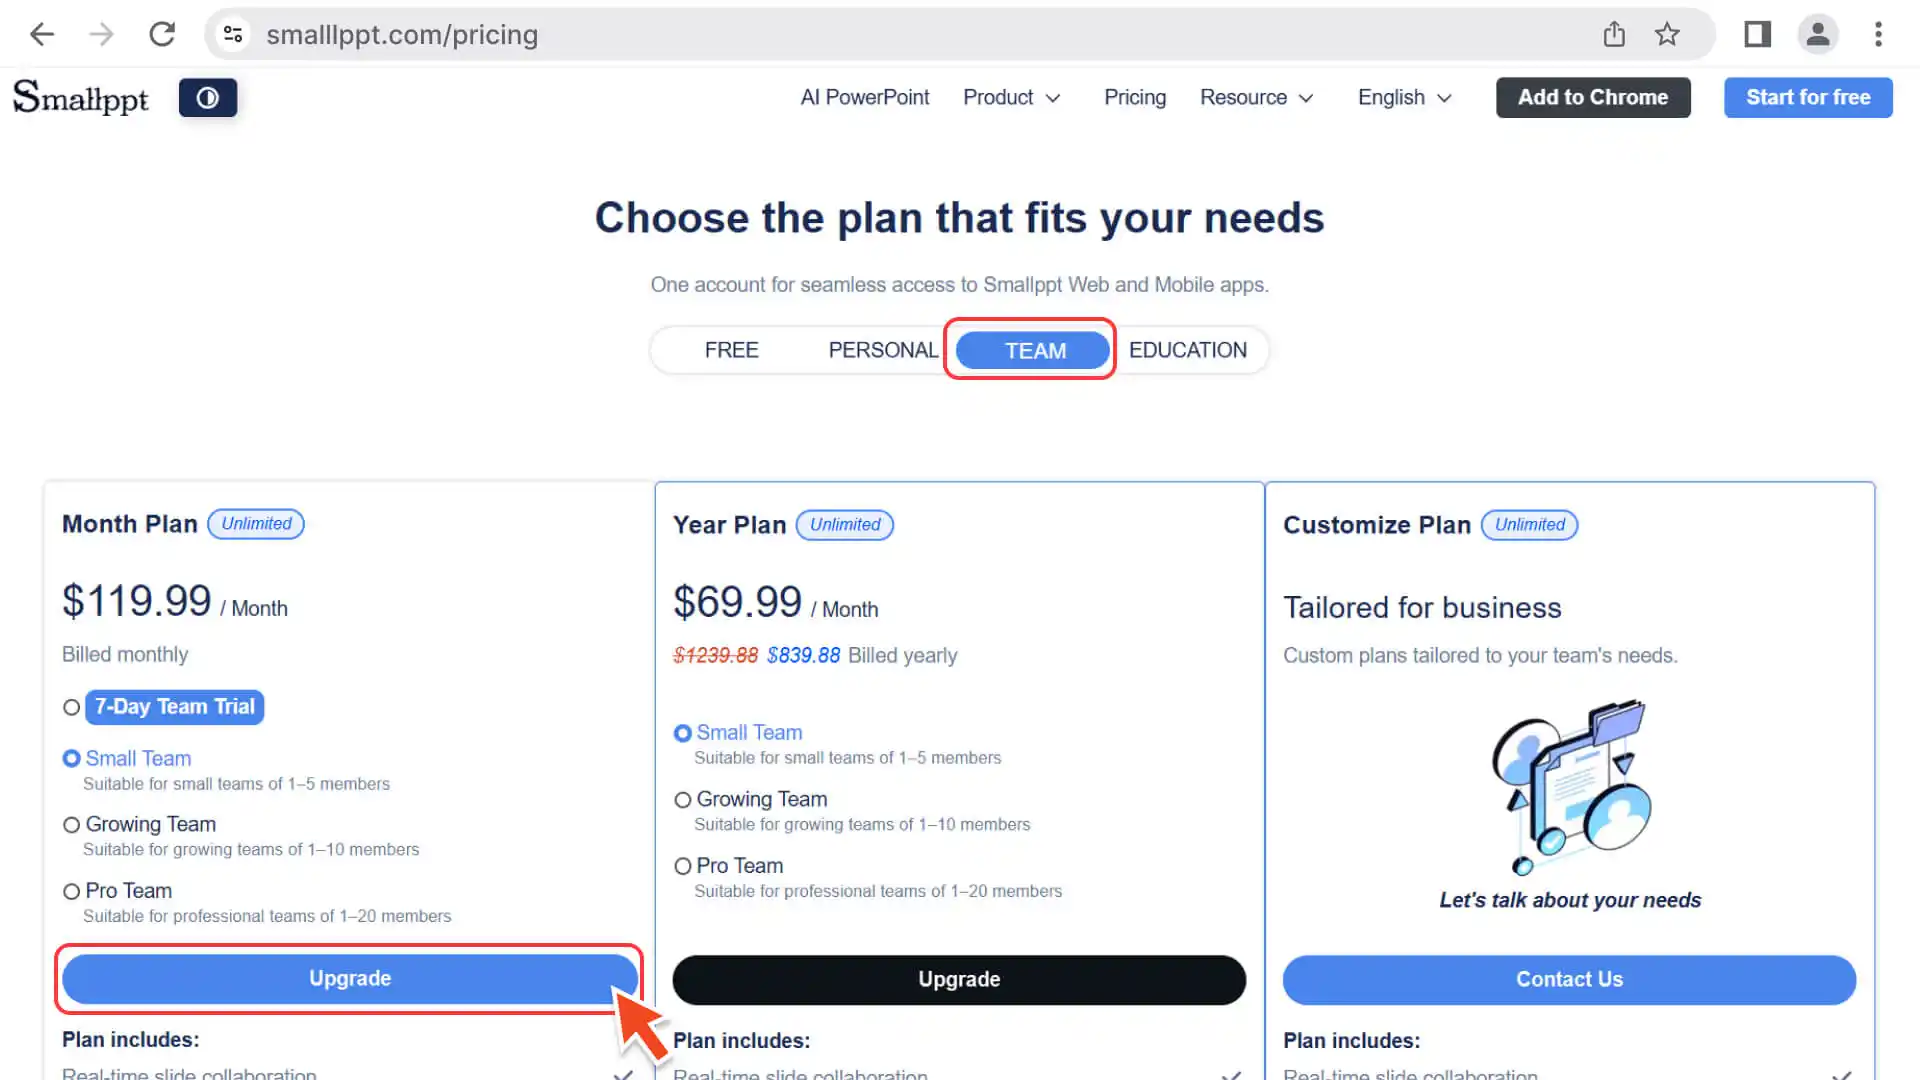
3. Login and Payment: Log in with your Smallppt account and follow the prompts to complete the payment process.
4. Automatically create a workspace: After successful payment, the system will automatically create a team workspace for you and redirect you to it.
Method 2: Create a team via the "Workspace Switching Entry" on the Workbench
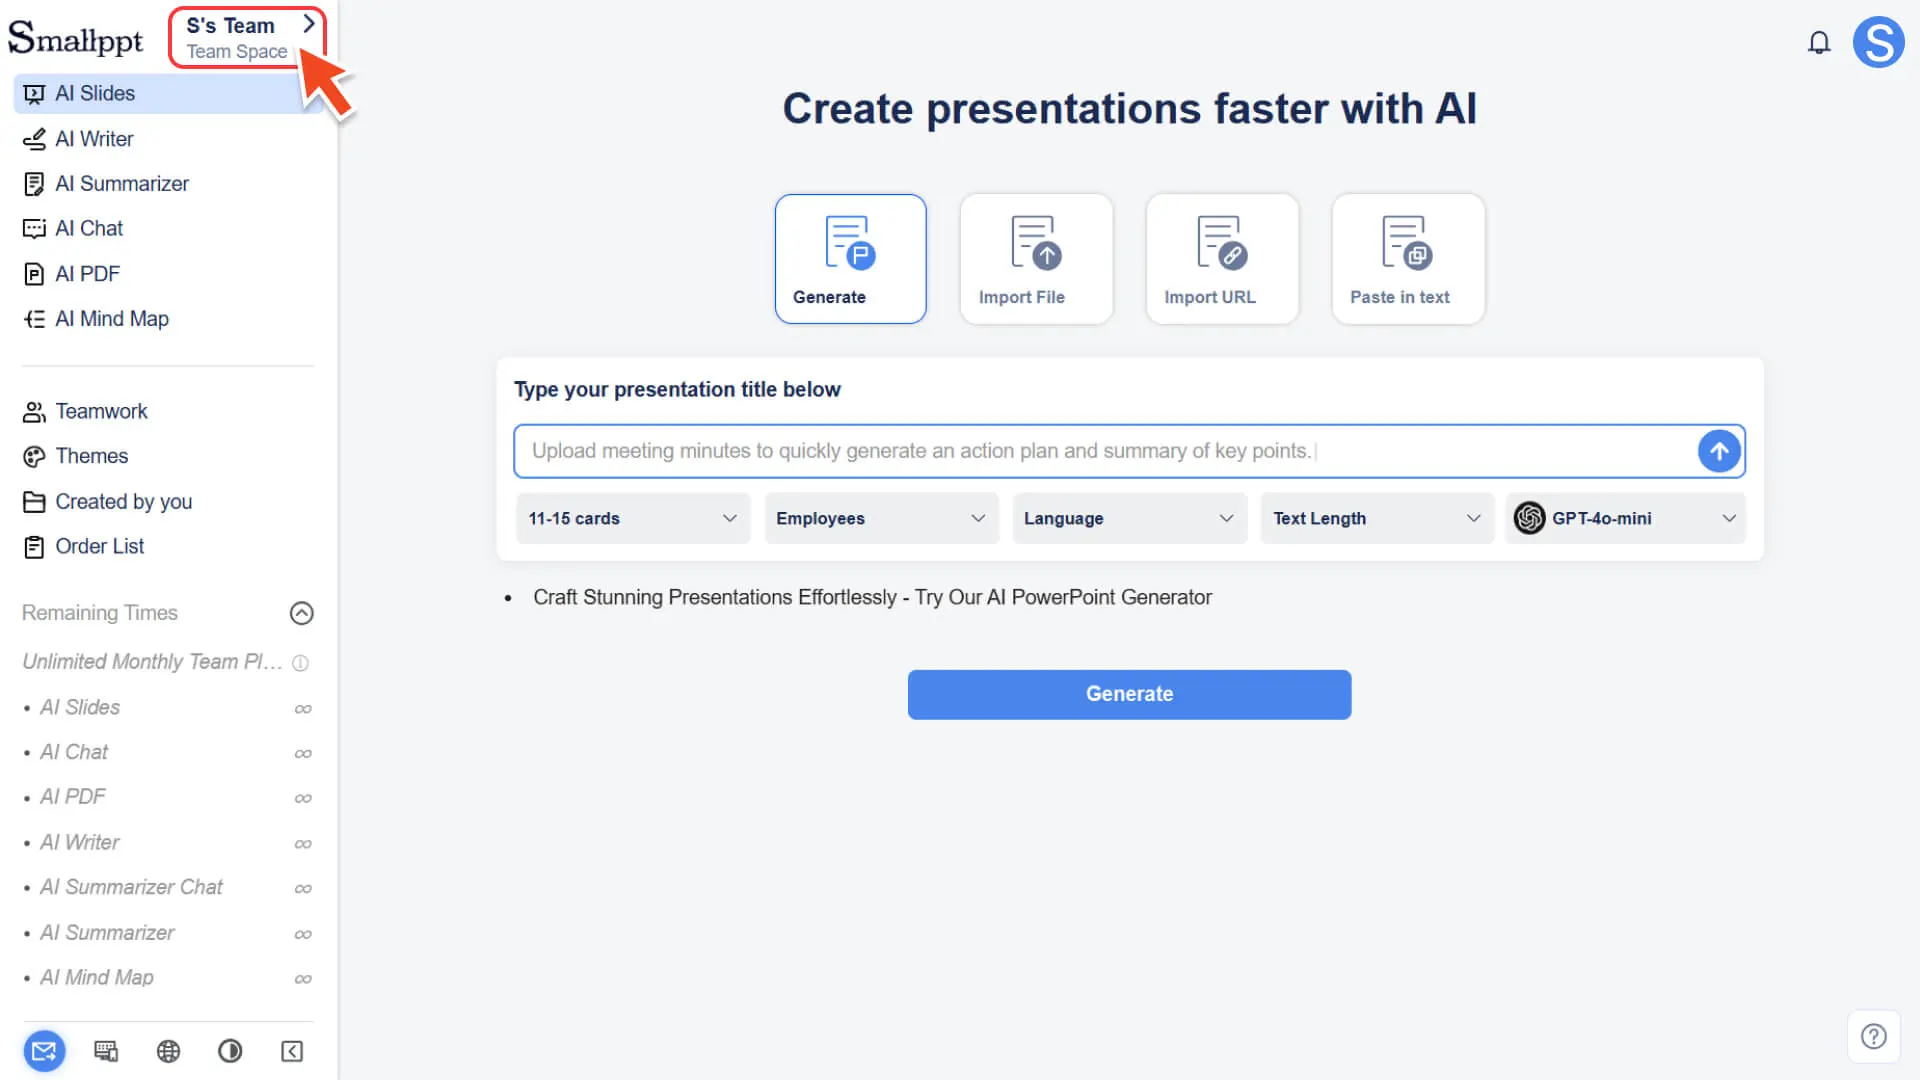
1. Enter the Workbench: After logging in to Smallppt, enter the home page of the workbench on the Dashboard.
2. Open the workspace switch panel:
◦ At the top of the left sidebar, next to the Smallppt Logo, find the name of the current space (e.g., Your Name · Personal Space).
◦ Click the “>” toggle button on the right to open the Switch Space pop-up window.
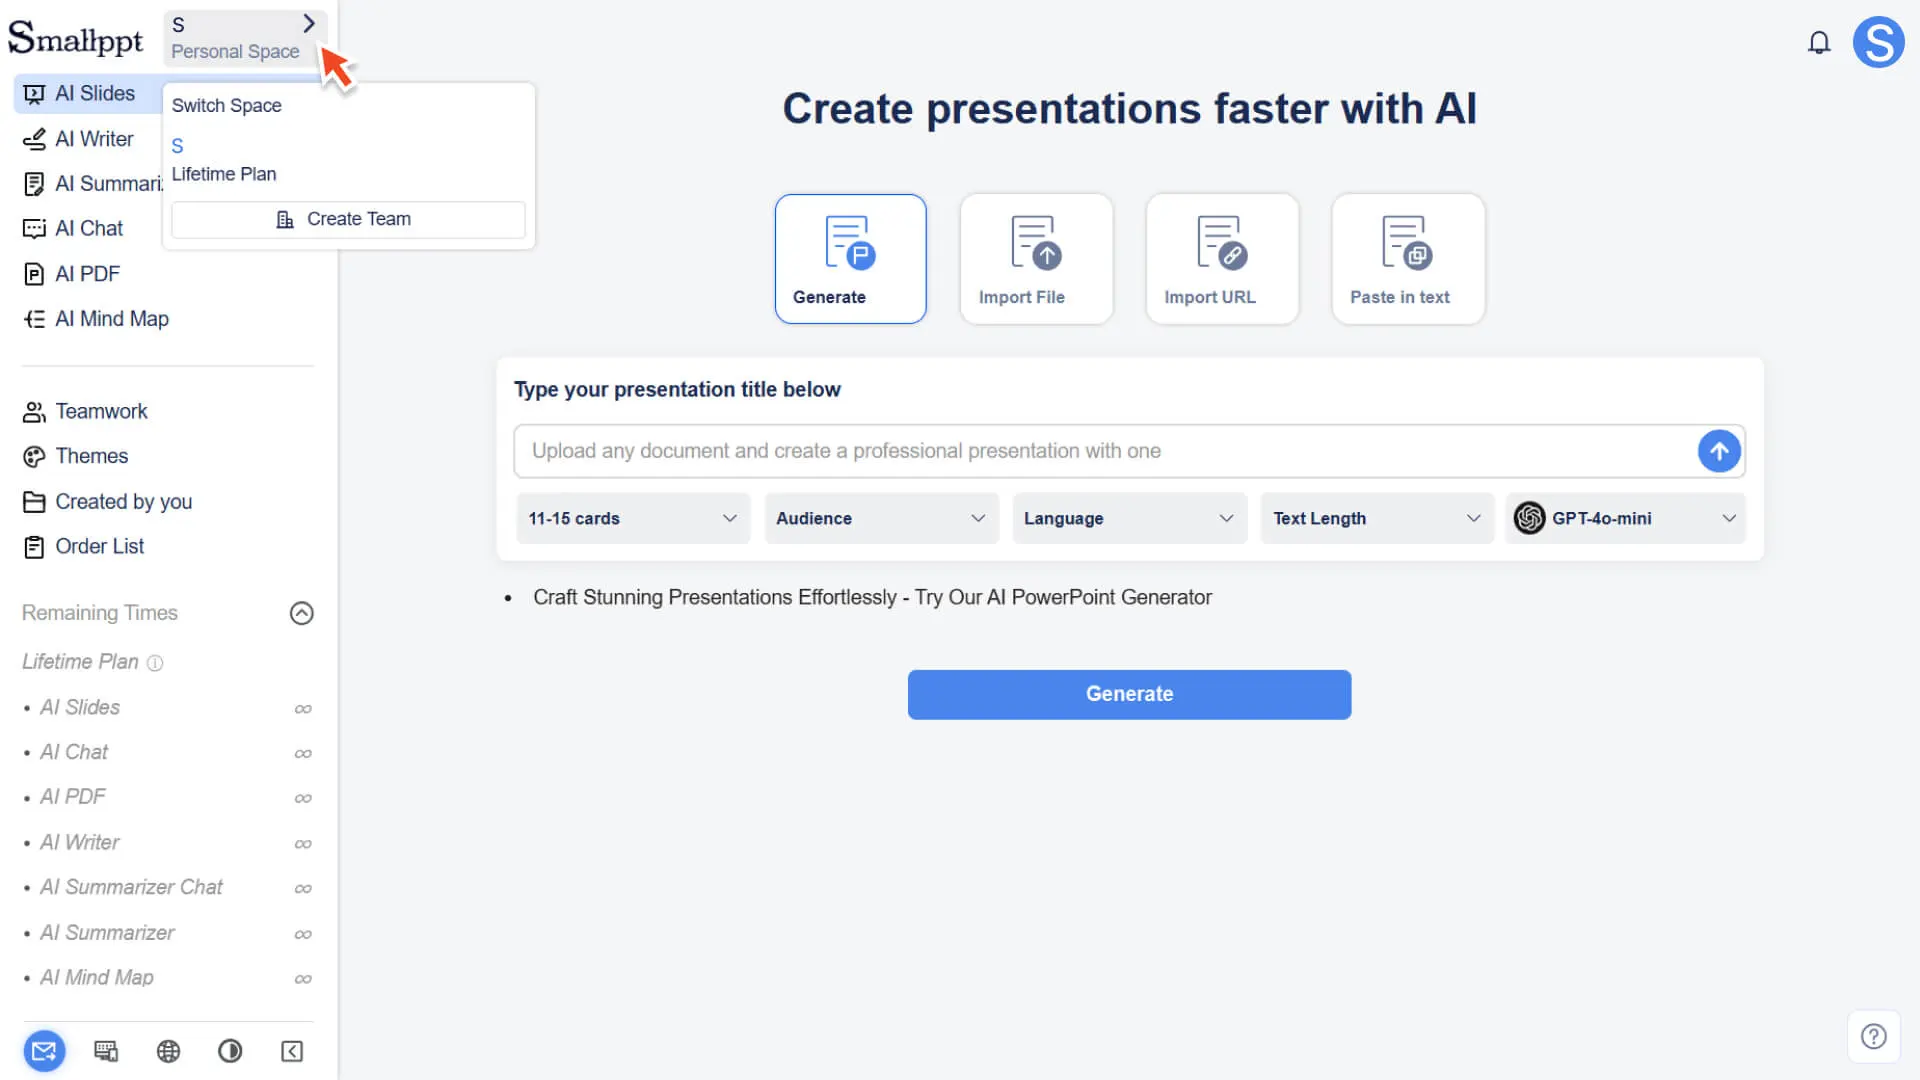
3. Initiate the team creation process:
◦ In the Switch Space pop-up window, click the Create Team button.
◦ The system will pop up a window introducing team features, showcasing the core advantages related to team collaboration.
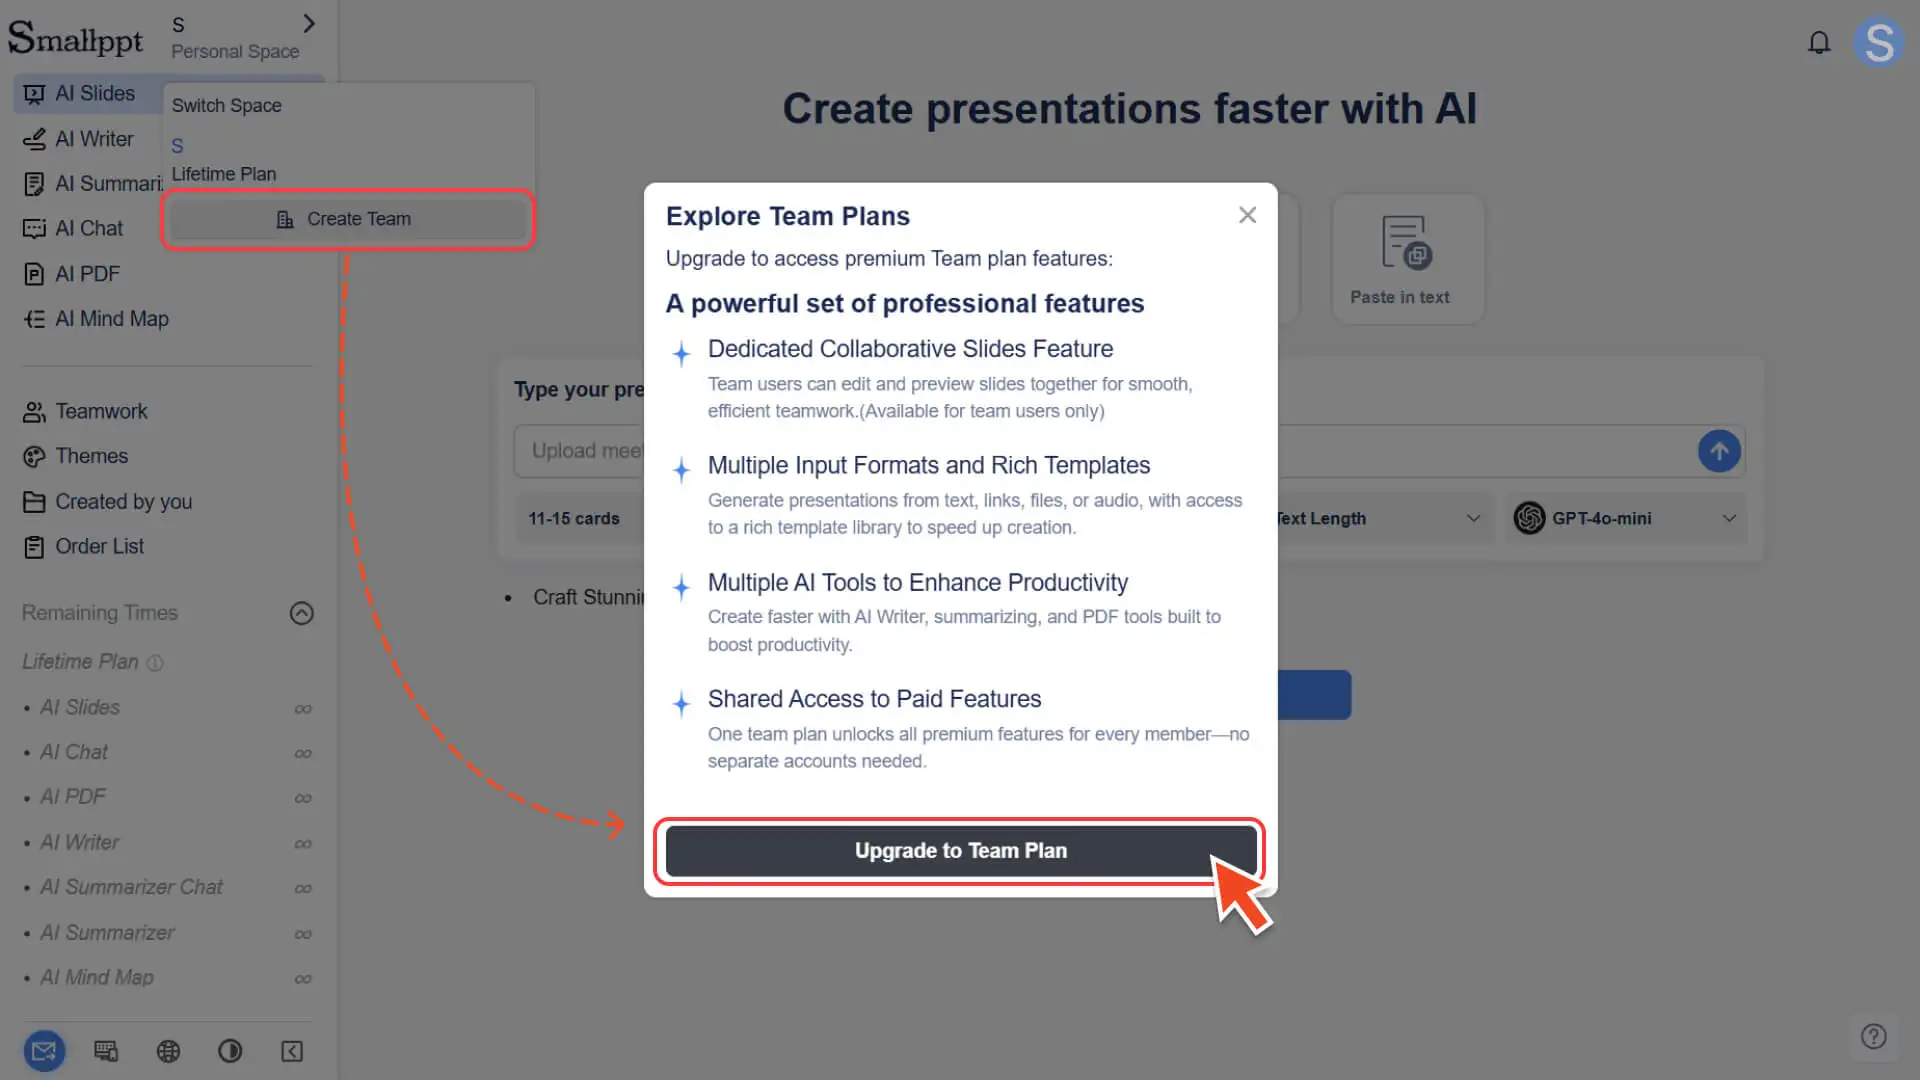
4. Select a package and complete payment:
◦ Click Upgrade to Team Plan to jump to the pricing page.
◦ Select the number of team members and the payment method (monthly / annually) as needed, and complete the payment.

5. Automatically enter the team workspace:
◦ After successful payment, the system will automatically switch to the team workspace.
◦ Your team name will be displayed in the top-left corner, indicating that the team has been successfully created.
A Smallppt account can create up to 1 team and can also join 1 other team.
Method 3: Create a team through the Teamwork page of the Workbench
1. Enter the Teamwork page: In the left navigation bar, click the Teamwork module.
2. Initiate the creation process:
◦ If you haven't created or joined any team yet, the page will display the creation guide and highlight the Create now button.
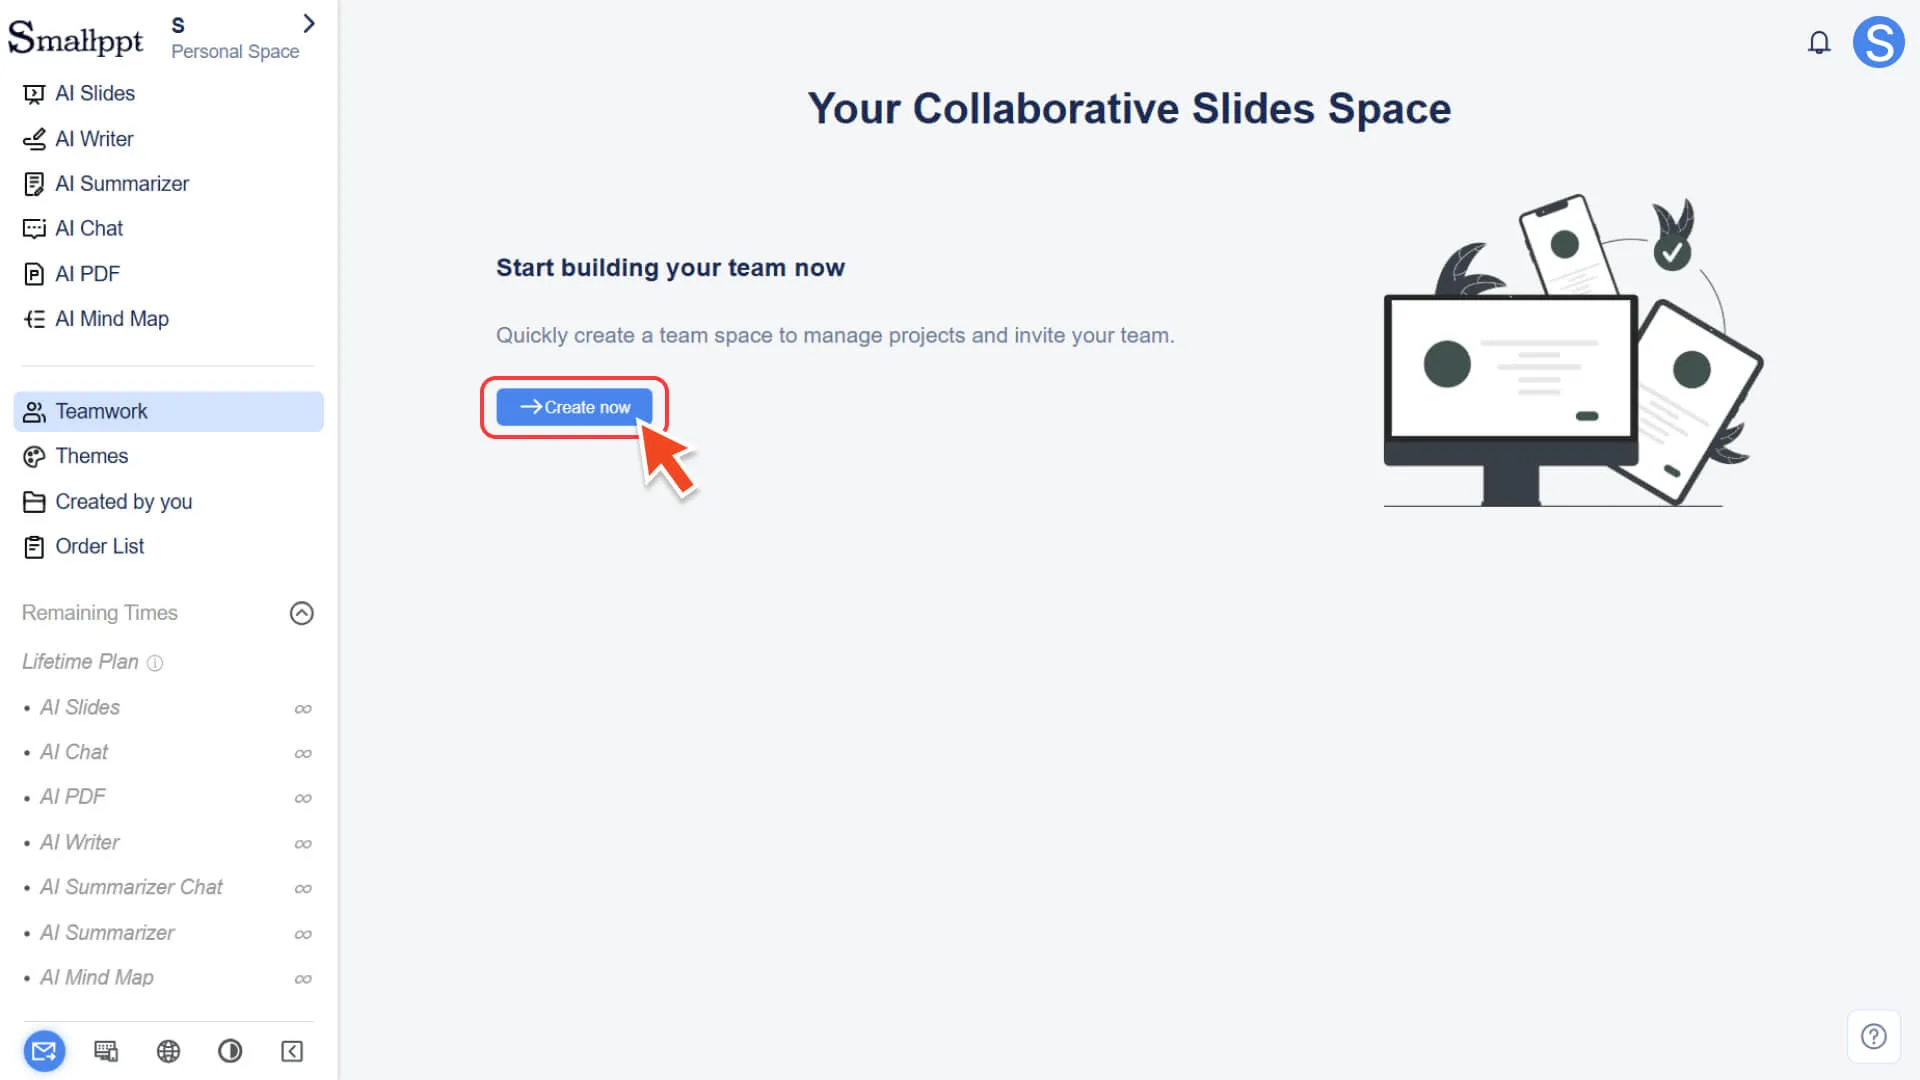
◦ After clicking Create now, a pop-up window identical to that of Method 2, introducing team features, will appear.
3. Select a package and complete payment:
◦ Click Upgrade to Team Plan.
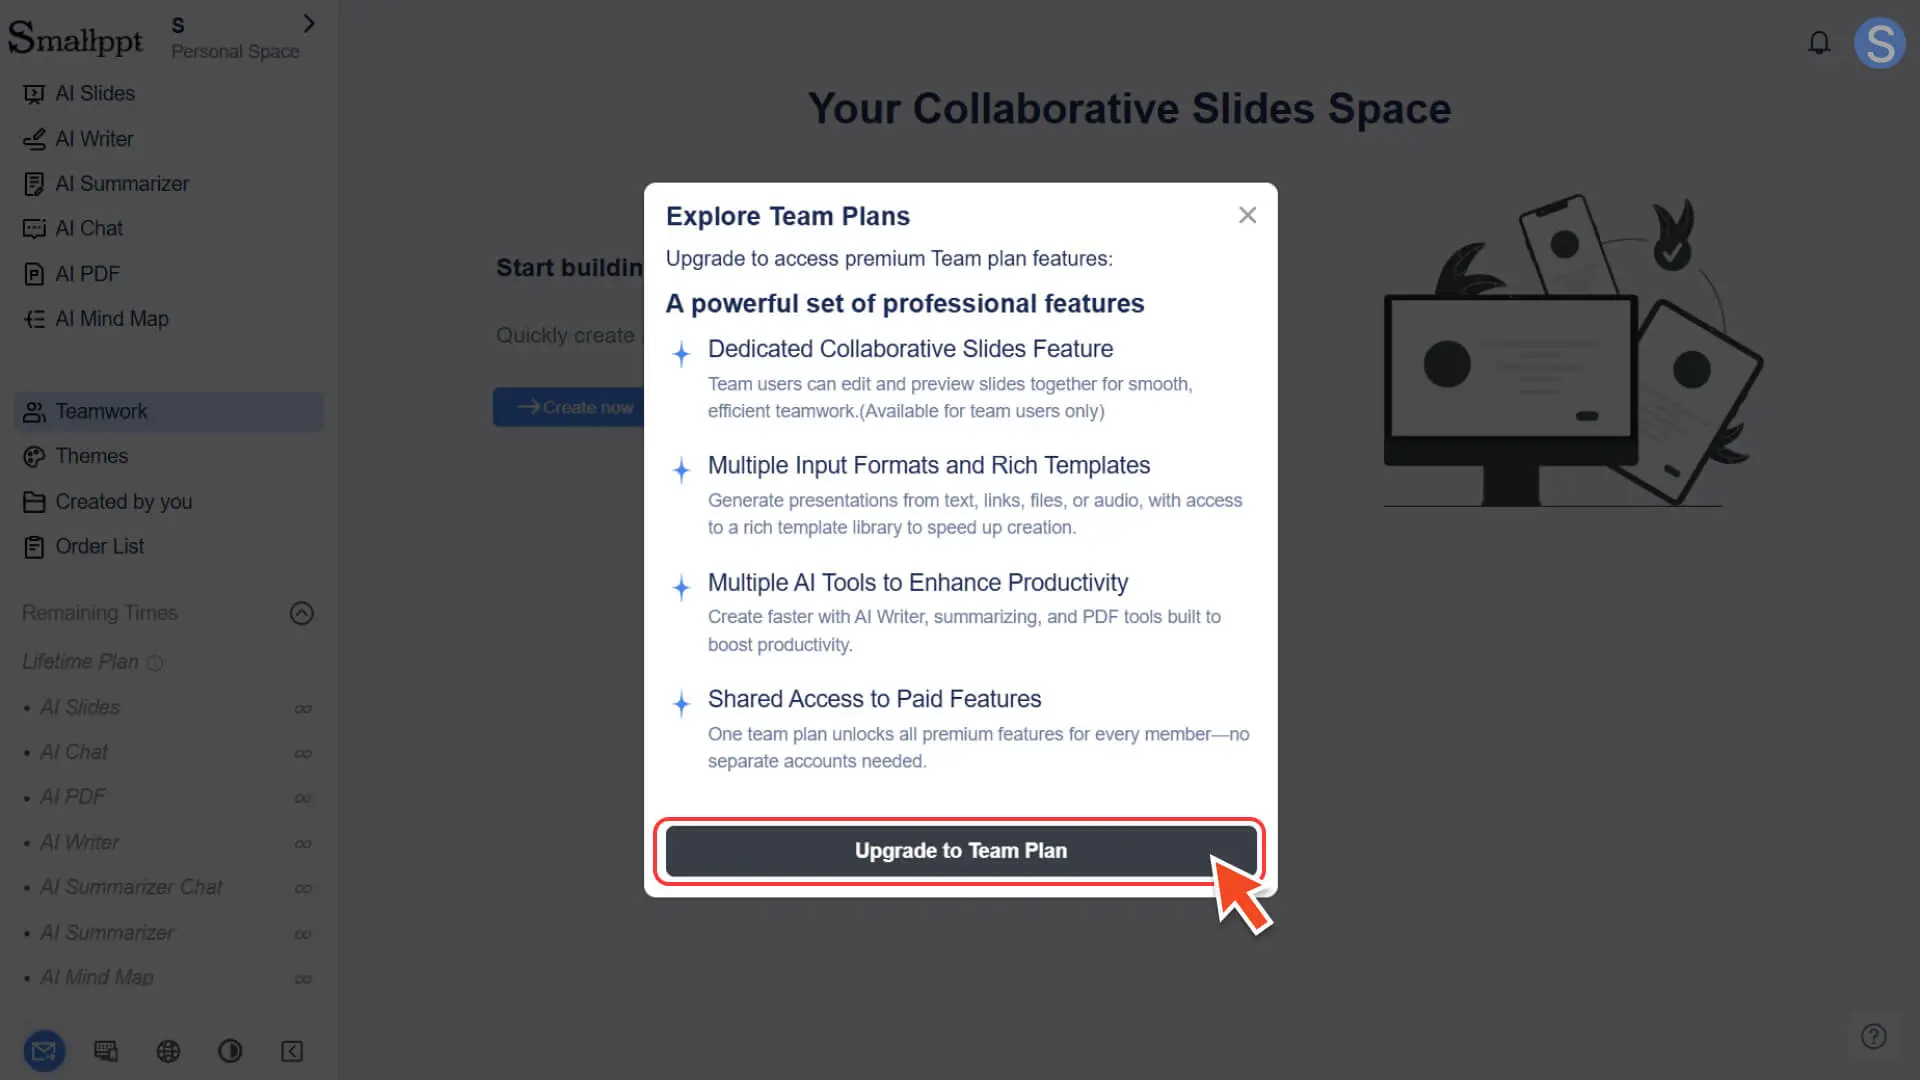
◦ Jump to the pricing page, select a suitable team package, and complete the subscription.
4. Automatically enter the team workspace:
◦ After the subscription is completed, the system will automatically enter the newly created team workspace.
How to manage your team
After successfully creating a team, you can centrally manage members, maintain team profiles, and view team-related information in the team workspace.
Before proceeding with the following operations, please confirm that you have switched to the team space.
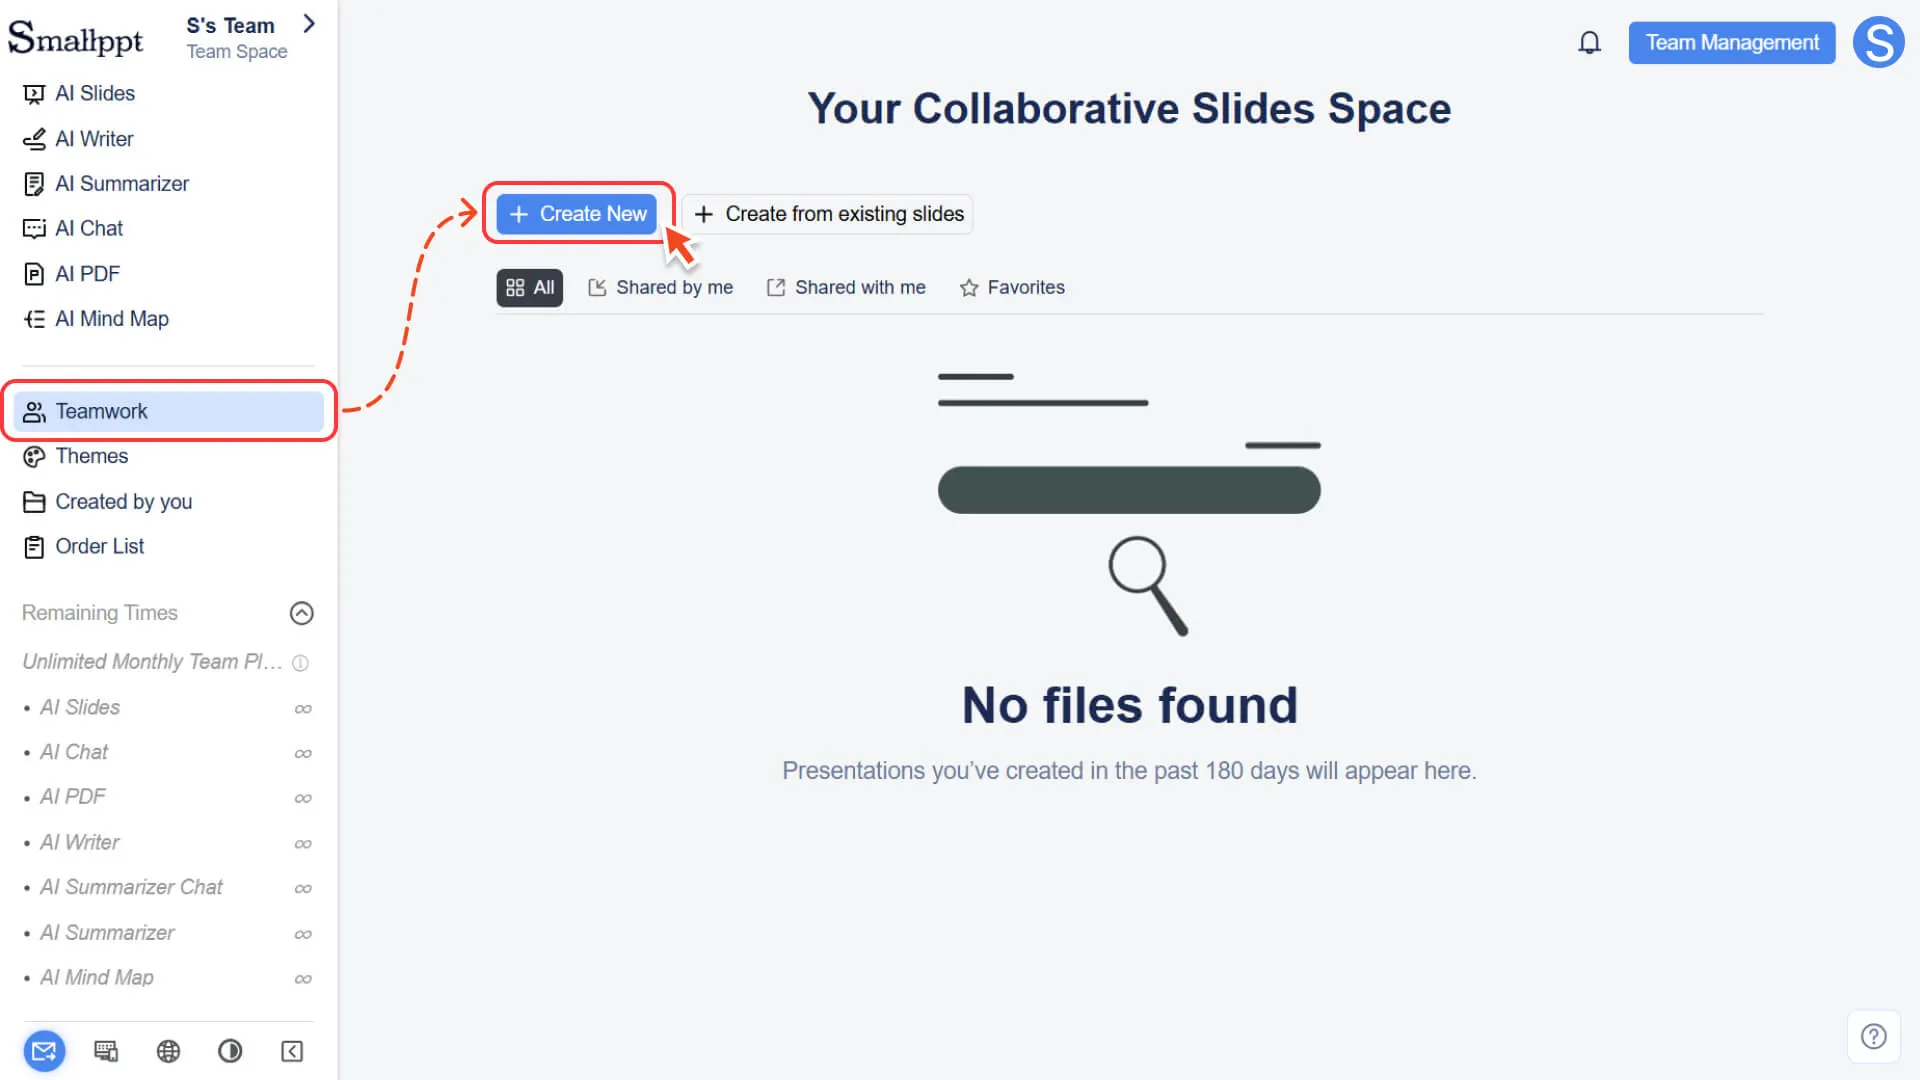
Step 1: Enter the Teamwork page
1. In the left navigation bar, click the Teamwork module.
2. After entering, the page will default to displaying all collaborative presentations created within the team.
3. If the team has not created any content yet, you can click Create New to create the first team collaboration slide.
4. For more information, please check:
Step 2: Enter the Team Management Center
1. Click the Team Management button in the upper-right corner of the Teamwork page.
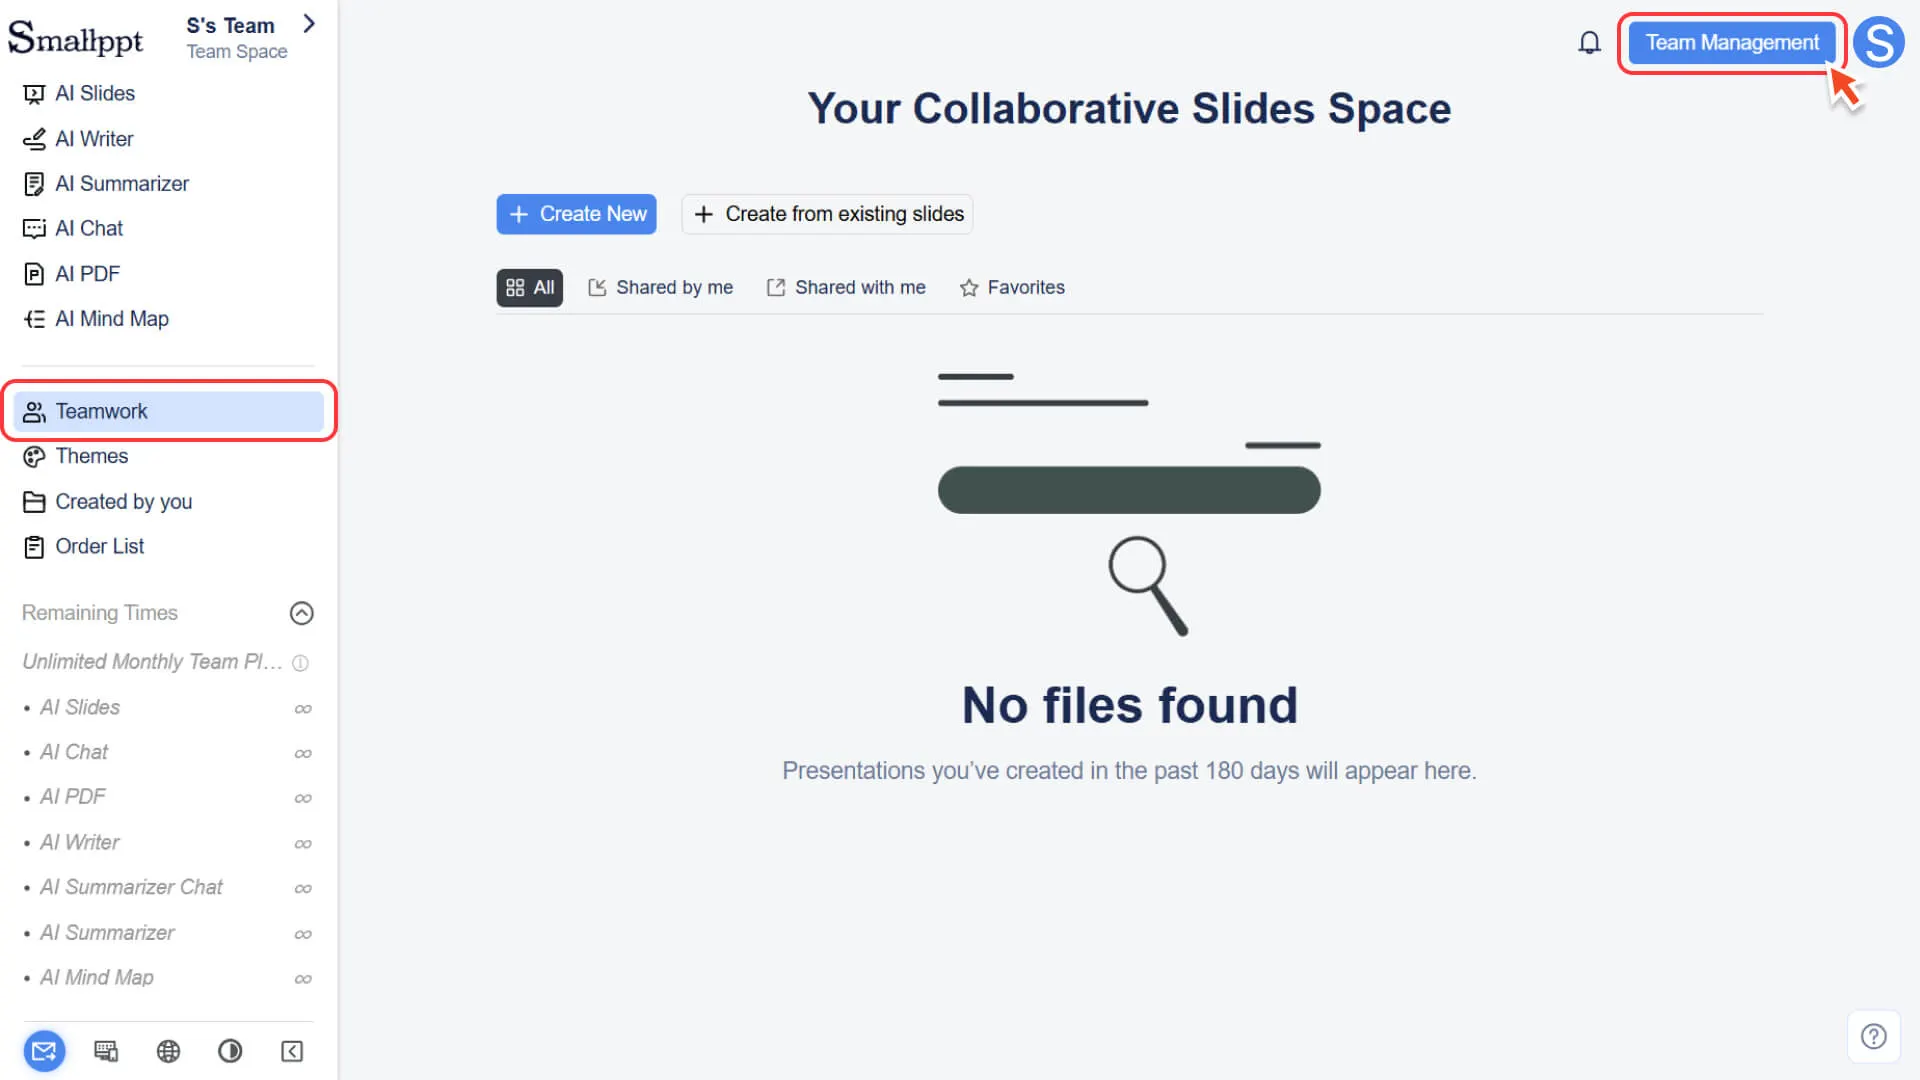
2. After clicking, you can enter the unified team management center to centrally manage the team.

Main Modules of Team Management
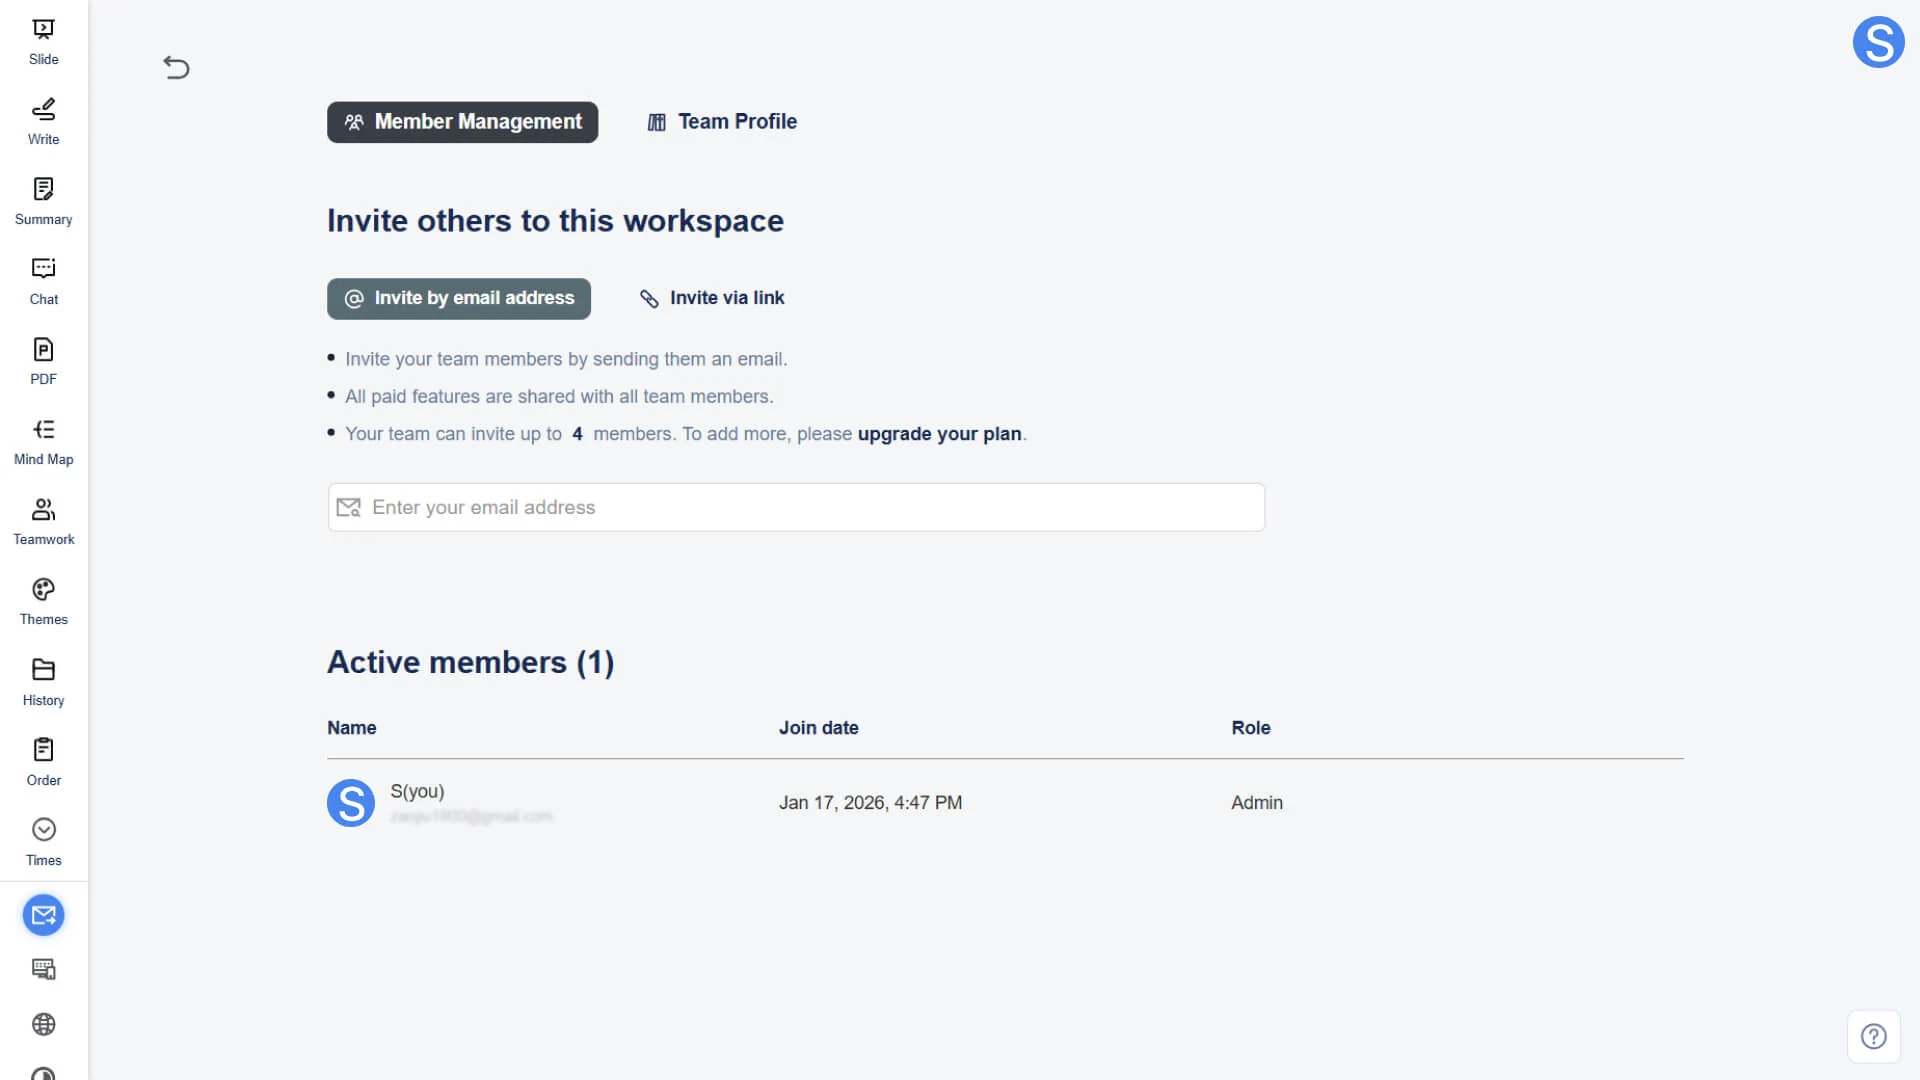
Member Management
This module is used to manage team members and their permissions, helping teams collaborate efficiently:
• Invitation and Removal: Invite new members to join the team or remove existing team members.
• Member List and Roles: View all team members and understand their current roles and permissions.
• Invite new members to join the team
• For more information, please check:
Permission Prompt: The team creator has the highest level of permissions and can perform all member-related operations and management.
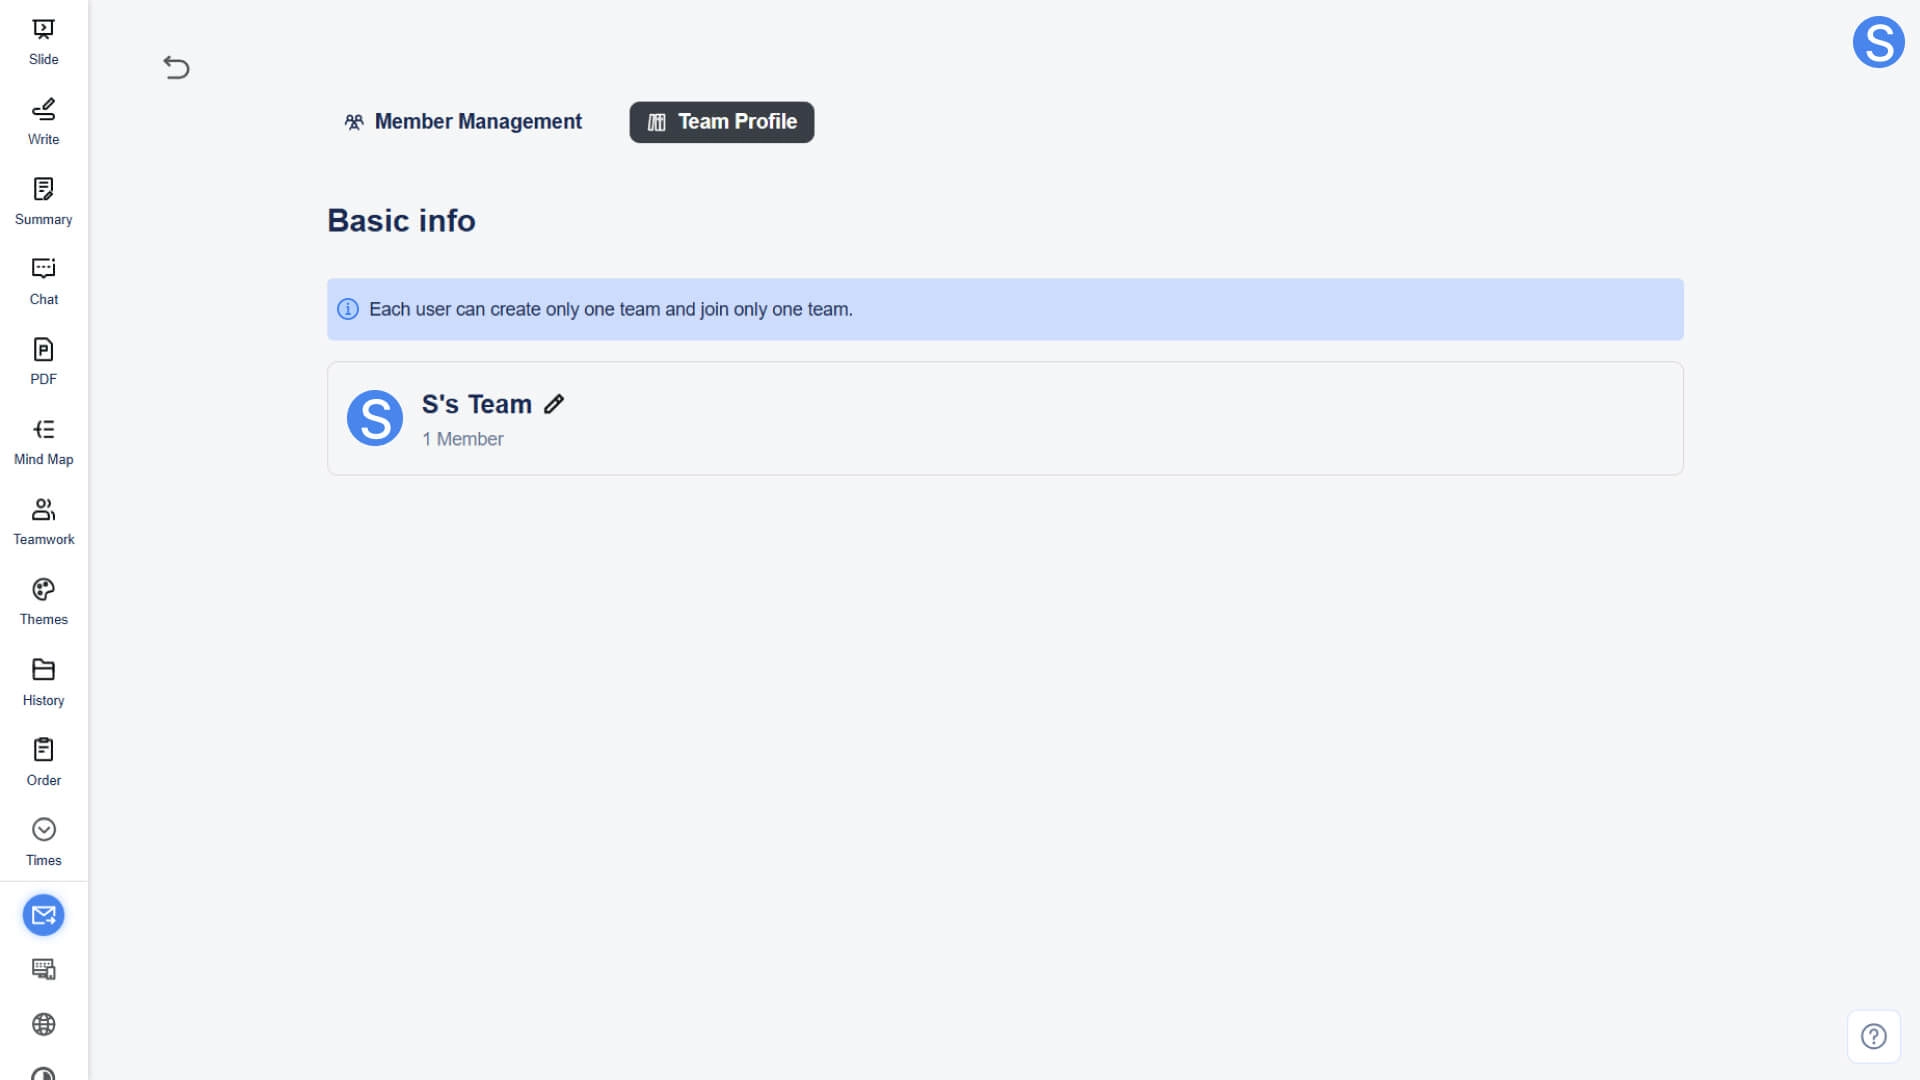
Team Profile
This module is used to maintain the team's basic information and brand identity:
• Basic Information: Displays the basic information of the team
◦ Team Name: Only the team creator can modify the team name.
◦ Team Avatar: Only the team creator can change the team avatar.
Frequently Asked Questions
Can I create multiple teams?
- • Each account can create at most 1 team. However, you can be invited by the administrator of another team to join that team (up to 1 team).
What is the difference between team users and individual users?
• The core functions and operating interfaces are basically the same, and the main differences are as follows:
◦ Team users: Additionally equipped with Teamwork collaboration features, capable of supporting multiple members to share all unlimited features in the package within the same space.
◦ Individual User: For personal use only, no team collaboration features.
Can I switch back to my personal space after creating a team?
- • Yes. You can switch between Team Space and Personal Space at any time via the workspace switch button in the top-left corner.
Does the team package take effect immediately after purchase?
- • Yes. After the payment is completed, the system will automatically redirect to the Smallppt dashboard and enter the team workspace, and the package will take effect immediately.