

How to quickly crop or resize images in Smallppt presentations?
Updated over 5 months ago
How to crop the image size?
Step 1: Open the image editing pop-up window
- 1. Open any one of your Smallppt presentations
2. Click any image on the page, and the system will immediately pop up an image editing window.
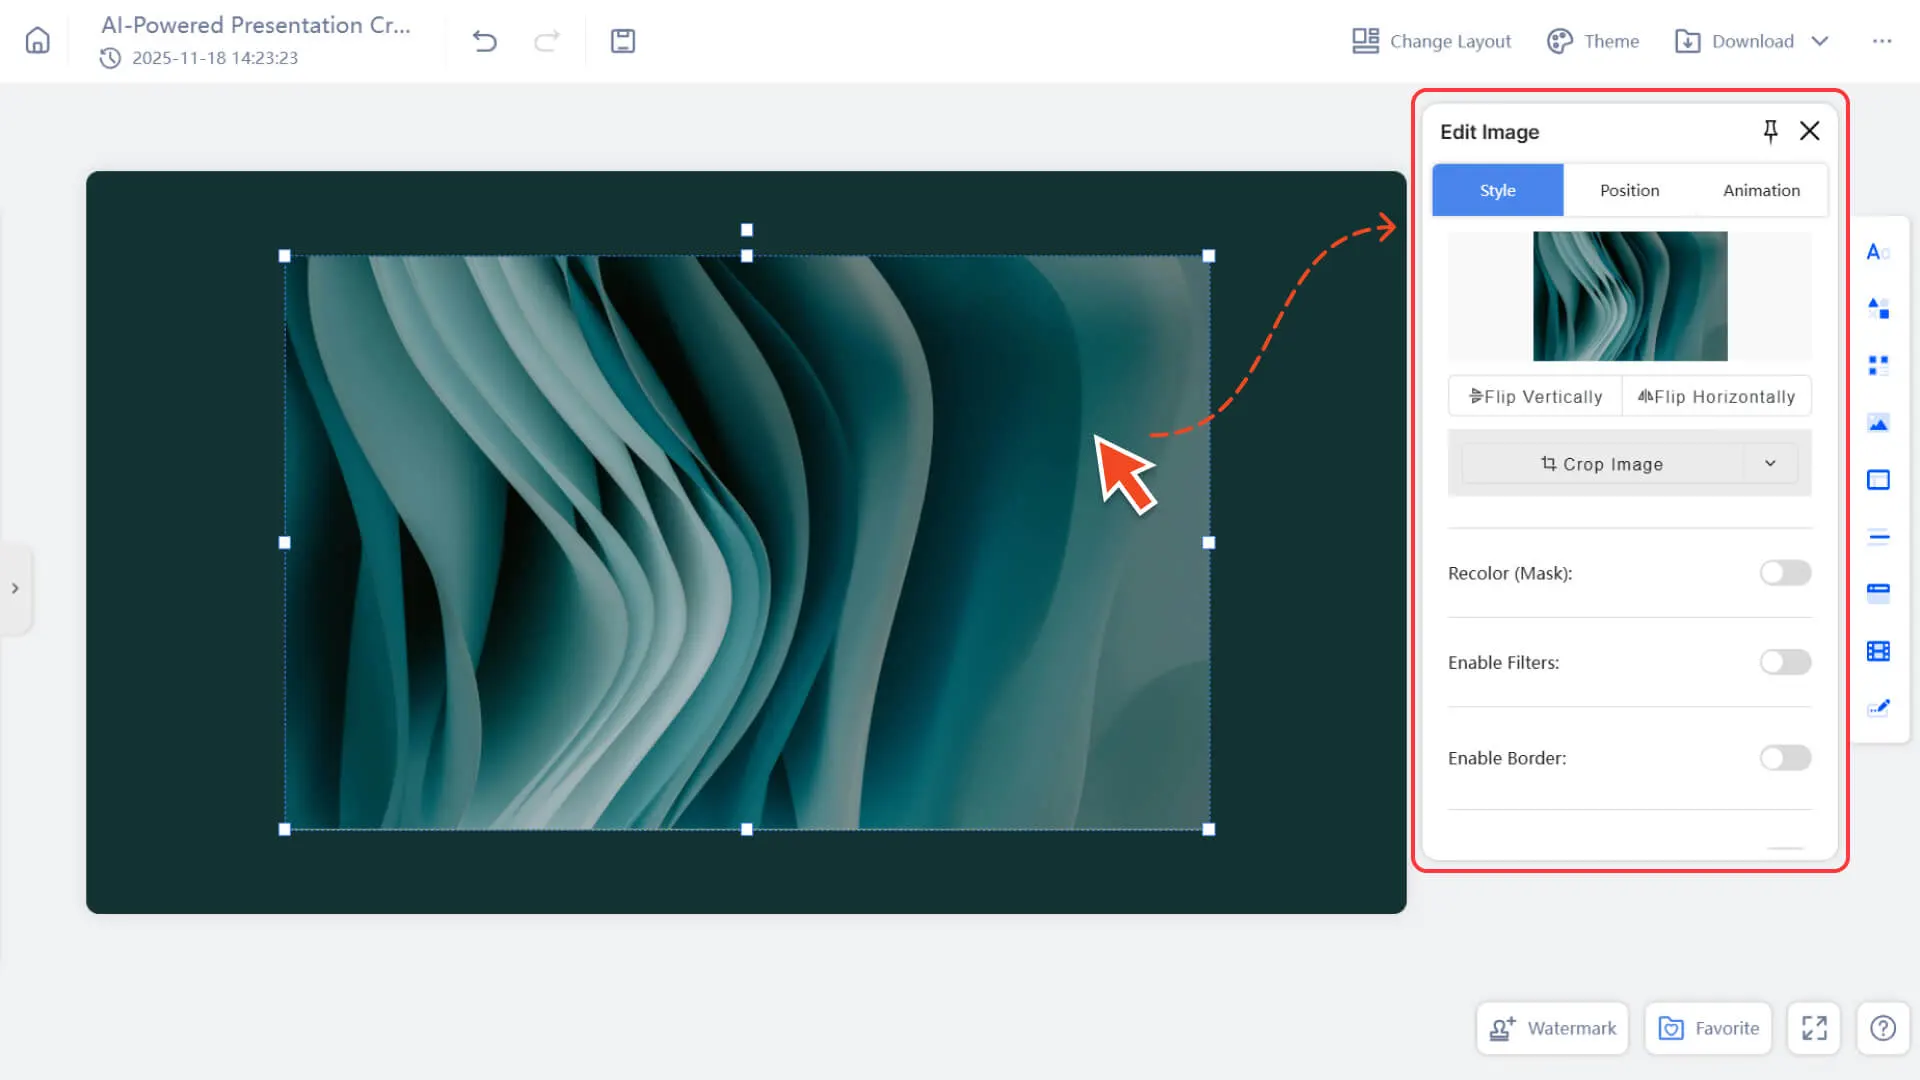
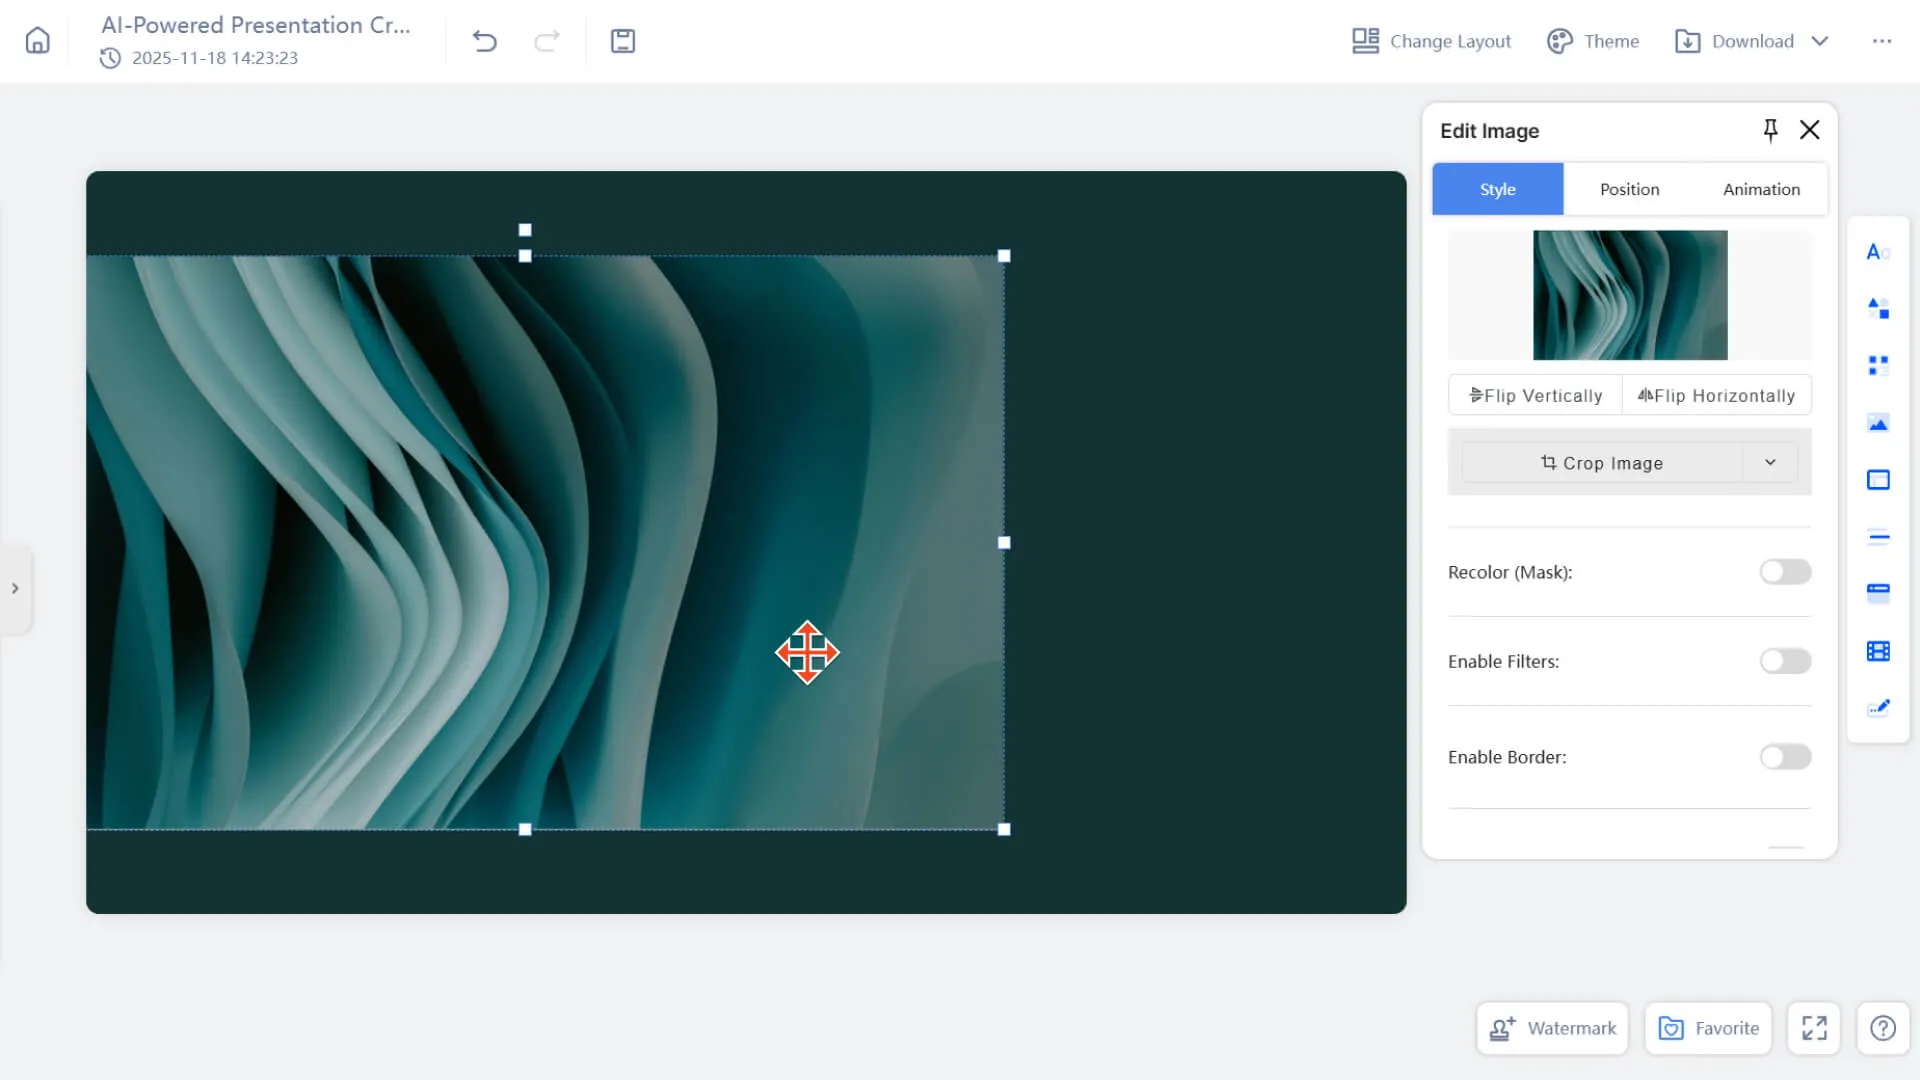
Step 2: Select the cropping method you need
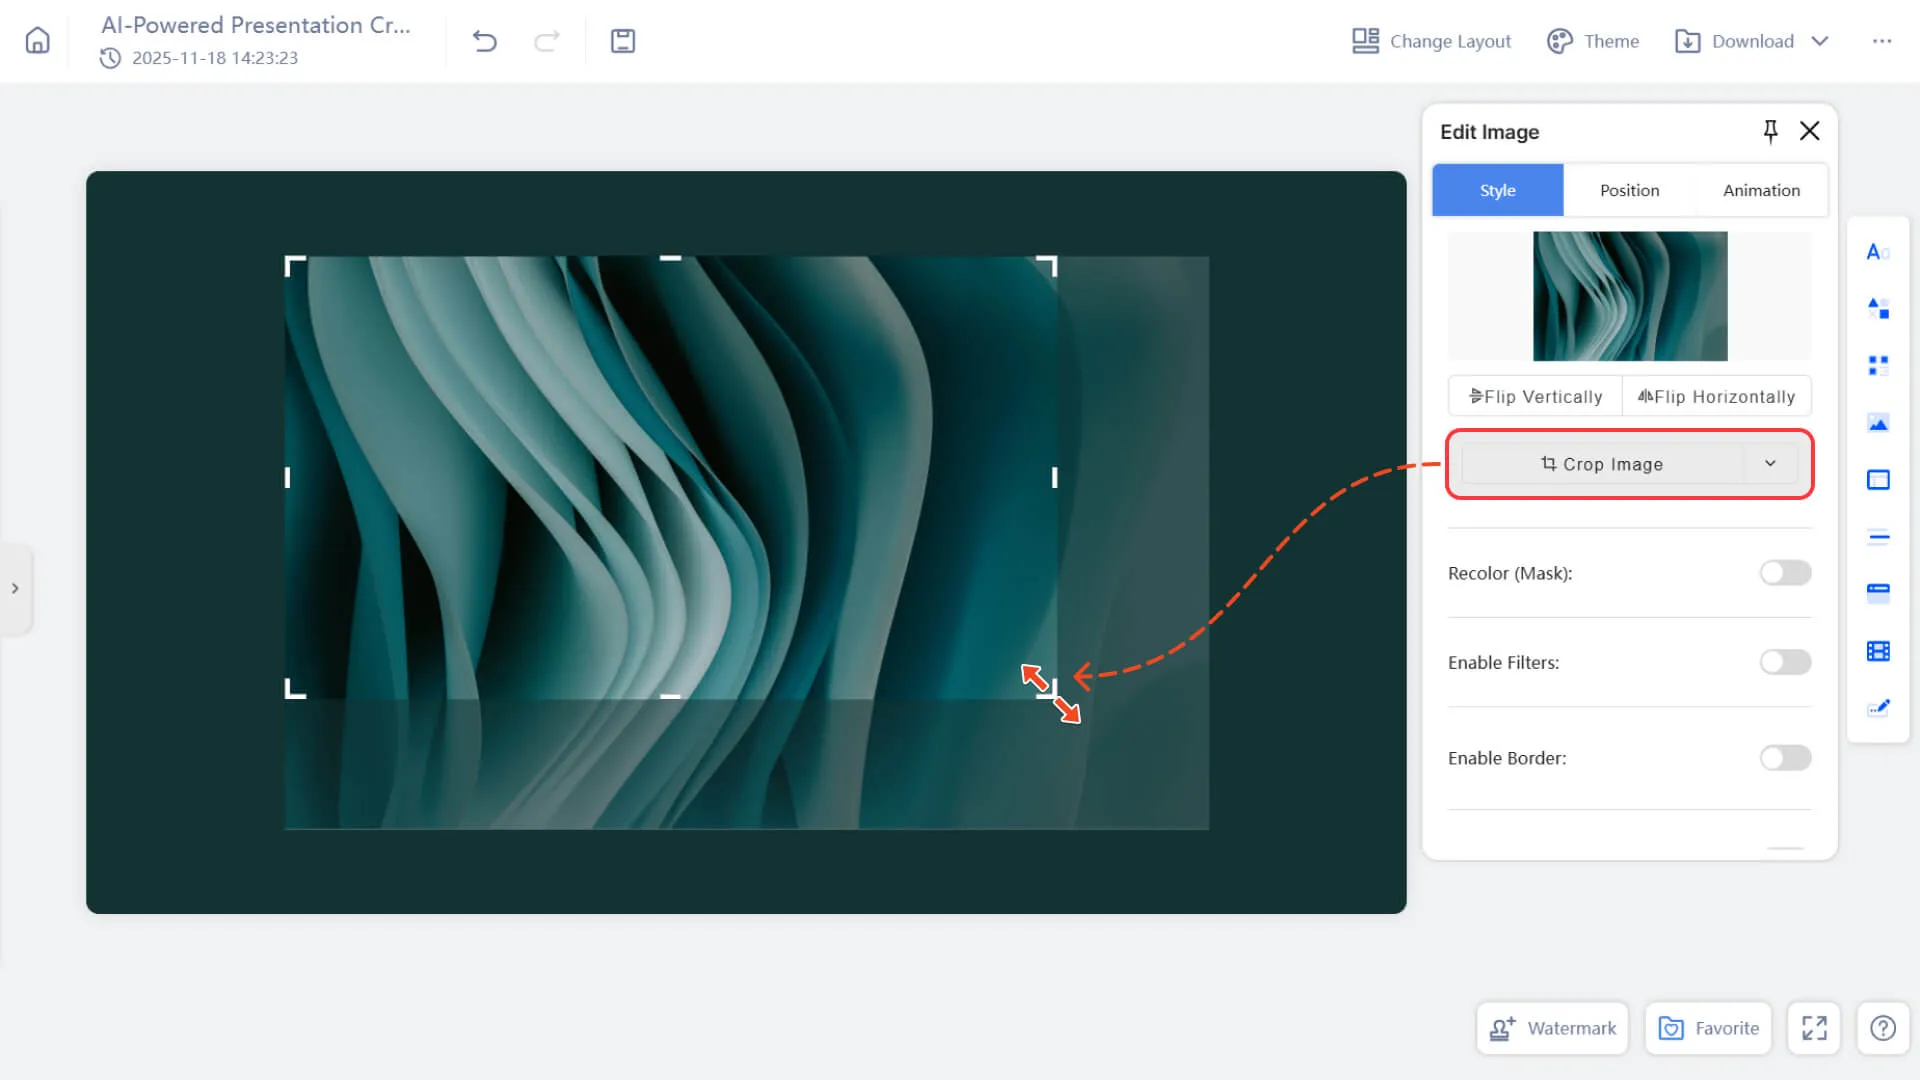
• Free Crop
◦ In the image editing pop-up window, directly click "Crop Image".
◦ Drag the crop box around the edges or at the corners to freely adjust the crop area.
◦ After adjusting to a satisfactory position, click on a blank area to apply.
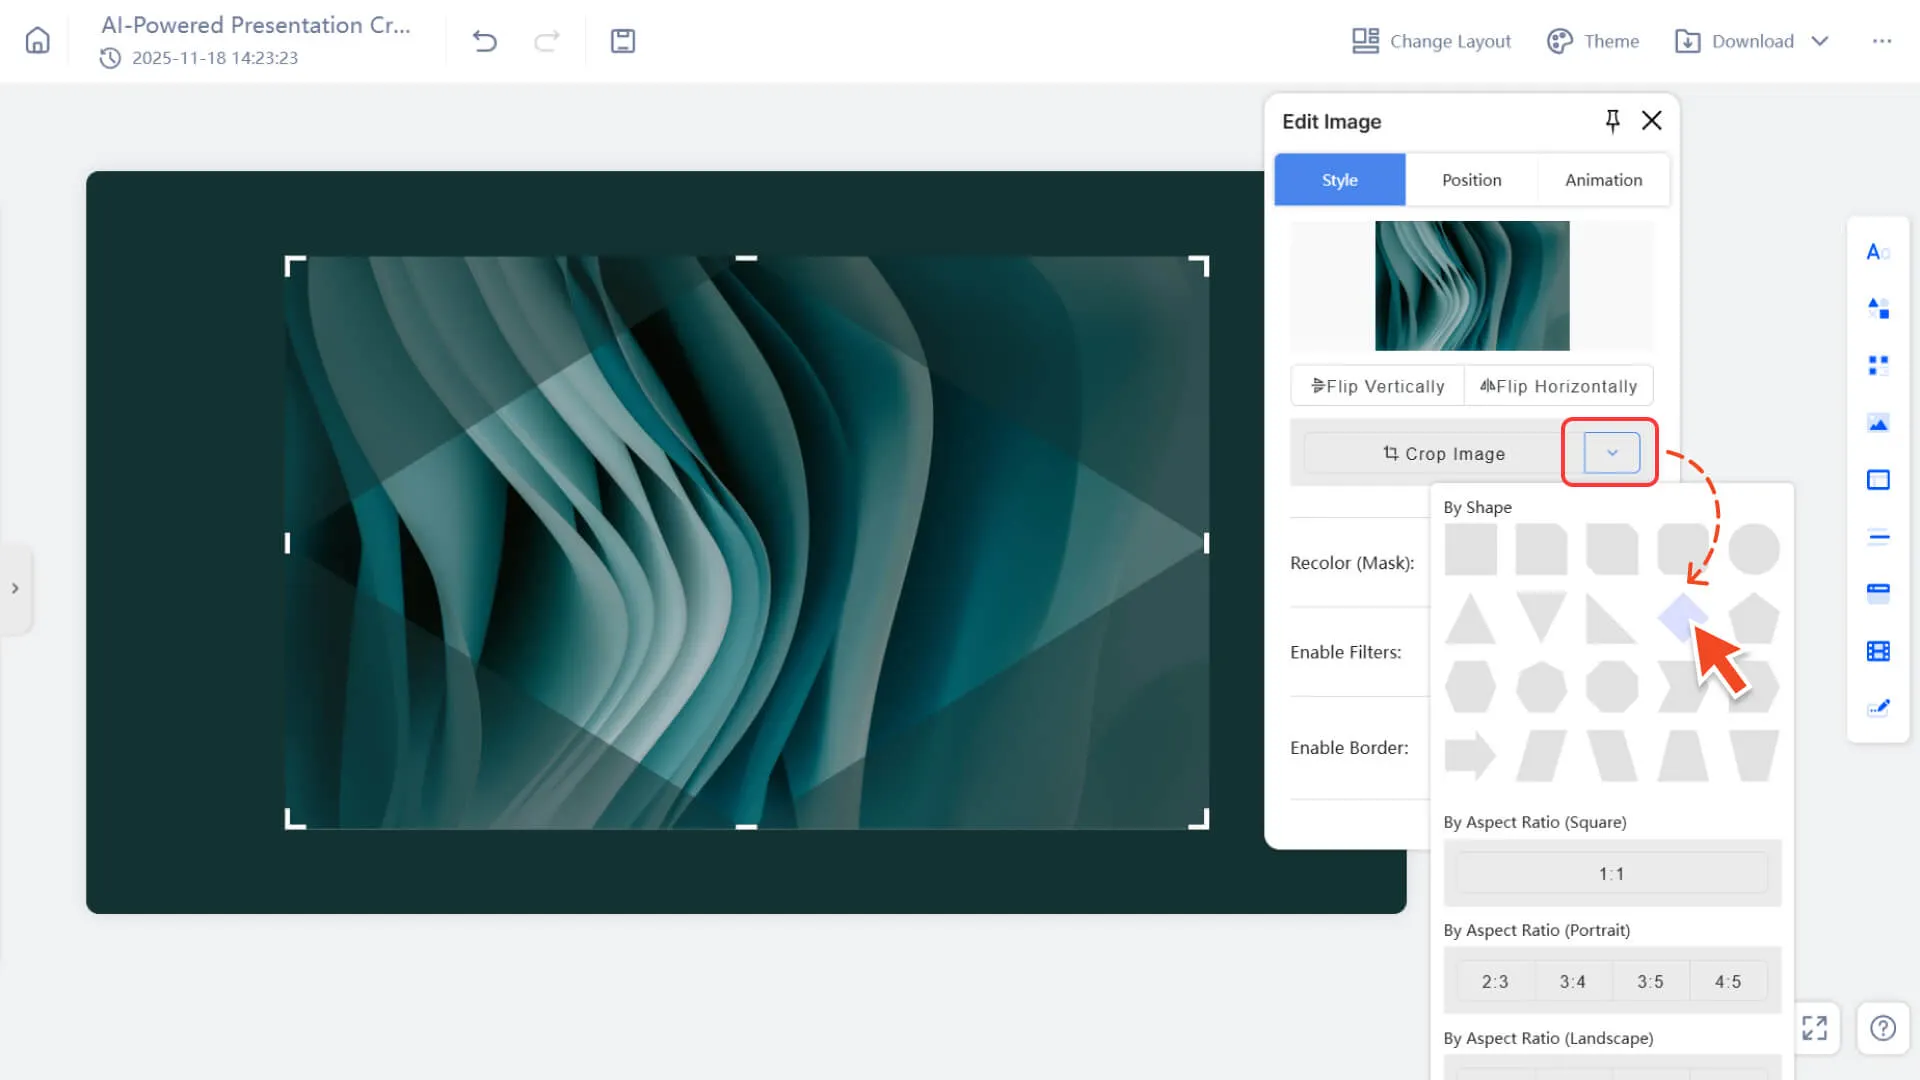
• Crop according to a preset shape or aspect ratio
◦ In the image editing pop-up window, click the drop-down icon to the right of "Crop Image".
◦ In the pop-up options, select a preset shape (such as circle, star, etc.) or a preset aspect ratio (such as 1:1, 4:3, 16:9).
◦ The system will automatically apply the crop box. You can fine-tune the position on this basis, and finally click on the blank area to complete the cropping.
How to resize an image?
Method 1: Drag the border to adjust
Step 1: Select the image
1. Select an image from any page in the presentation
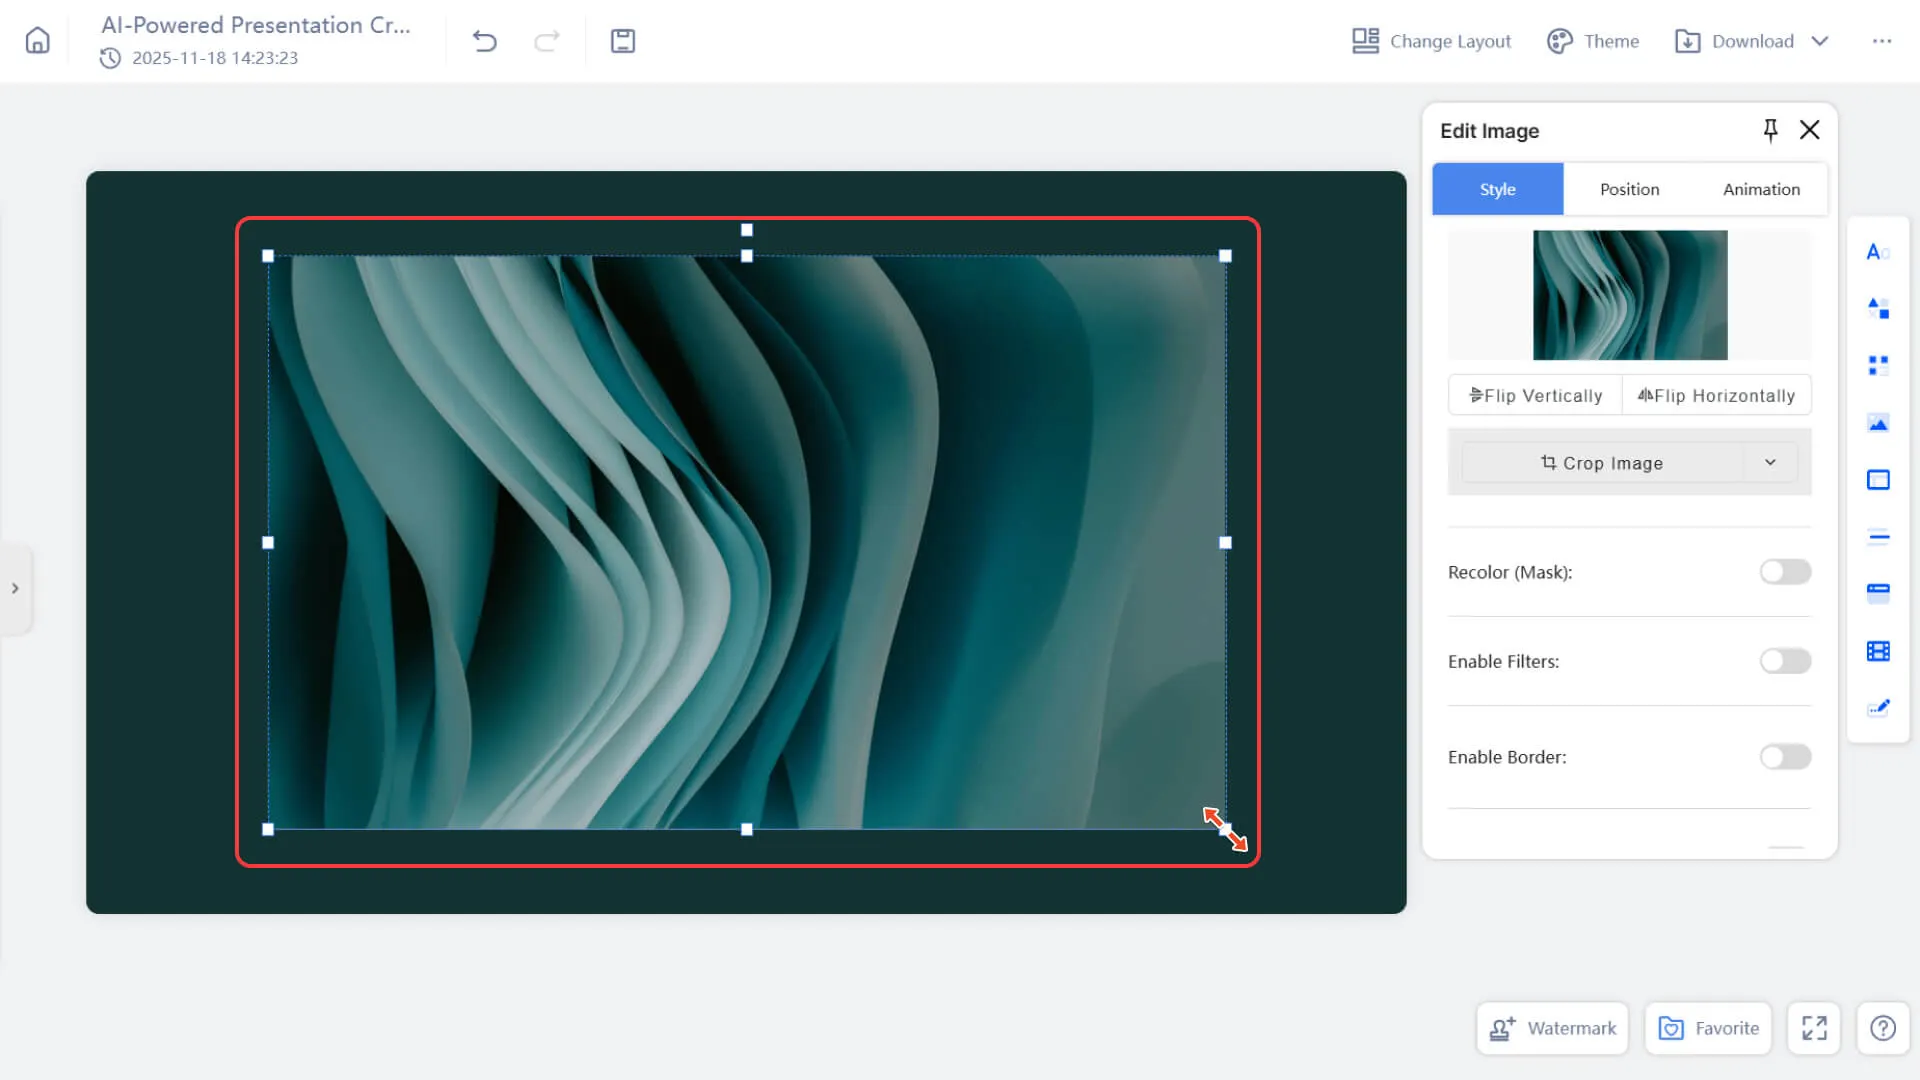
2. Click on the image, and a blue outer frame and adjustment points at the four corners/edges will appear on the image.
Step 2: Select the adjustment direction
1. Drag the corner control point
→ Achieve proportional scaling (maintain the aspect ratio).
2. Drag the edge control points
→ Only changing the width or height may cause the aspect ratio to be stretched.
Step 3: Release the mouse to complete the adjustment
Release the mouse to apply the final size.
Method 2: Enter precise values using the right editing panel
Step 1: Select the image
Click any image in the presentation canvas to select it.
Step 2: Open the Location Panel
1. Find the Location category in the editing area on the right.
2. If it is not expanded, click to expand the panel.
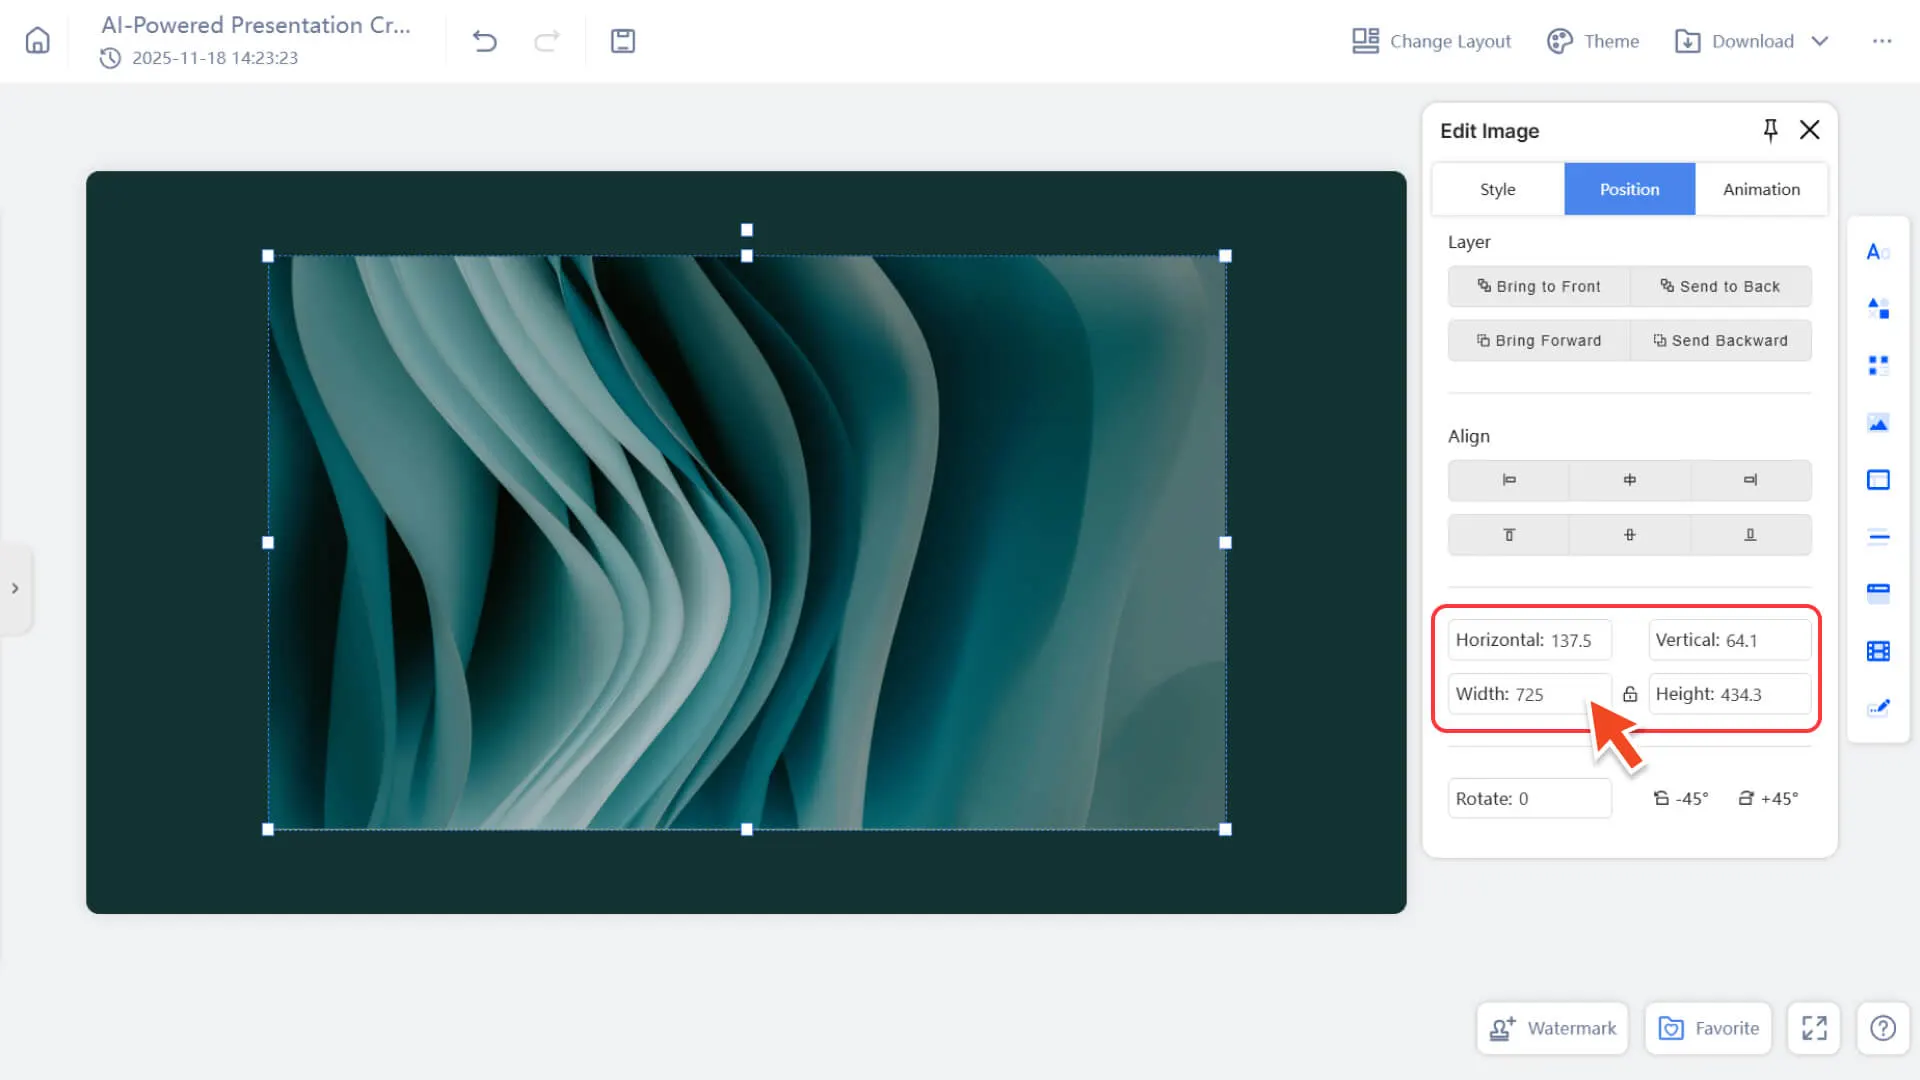
Step 3: Enter precise values for adjustment
You can directly input the following parameters to achieve precise control:
• Width
• Height
How to adjust the position of an image
Method 1: Drag to adjust position
1. Select the image on the page
2. Drag the entire image to move it to any position
Method 2: Enter precise values in the Position panel
The following parameters can be manually set:
• Coordinate Position: Horizontal/Vertical
• Rotation Angle
Other location-related functions
• Alignment: left/right alignment, horizontal and vertical centering, etc.
• Level:
◦ Sticky
◦ Bottom Placement
◦ Move Forward
◦ Move Back
Frequently Asked Questions
Why does the image aspect ratio change when resizing an image?
- • When using edge control points to adjust the size, the system will only change the image in a single direction (width or height), which may cause the aspect ratio to be stretched.
- • To maintain the original aspect ratio, please use the corner control points for proportional scaling.
Why does the image automatically change to a fixed shape or ratio after cropping?
- • If "Preset Shape" or "Preset Aspect Ratio" is selected during cropping, the system will automatically apply the corresponding crop box.
- • If you need to perform free cropping, please only click "Crop Image" to enter the manual cropping mode.
Why is it difficult to precisely align an image to a specified position when dragging it?
- • Mouse dragging is suitable for quick movement but not for precise positioning.
- • If you need a precise position, please enter the exact coordinates in the position category of the right editing panel, or use the alignment tool for automatic alignment.